Hello everyone! Today I have another nail tutorial for spring. Floral nail art is a fun design that it perfect for this time of the year! This is an intermediate design.
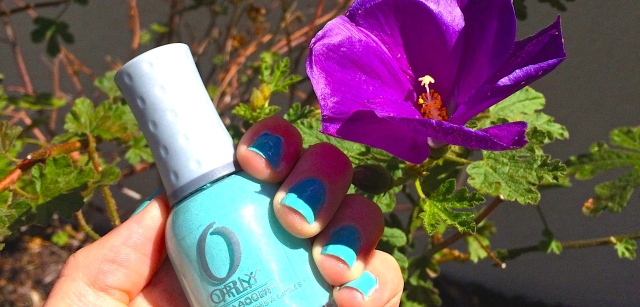
Begin by painting yor nails a solid color. For this design, I chose blue.

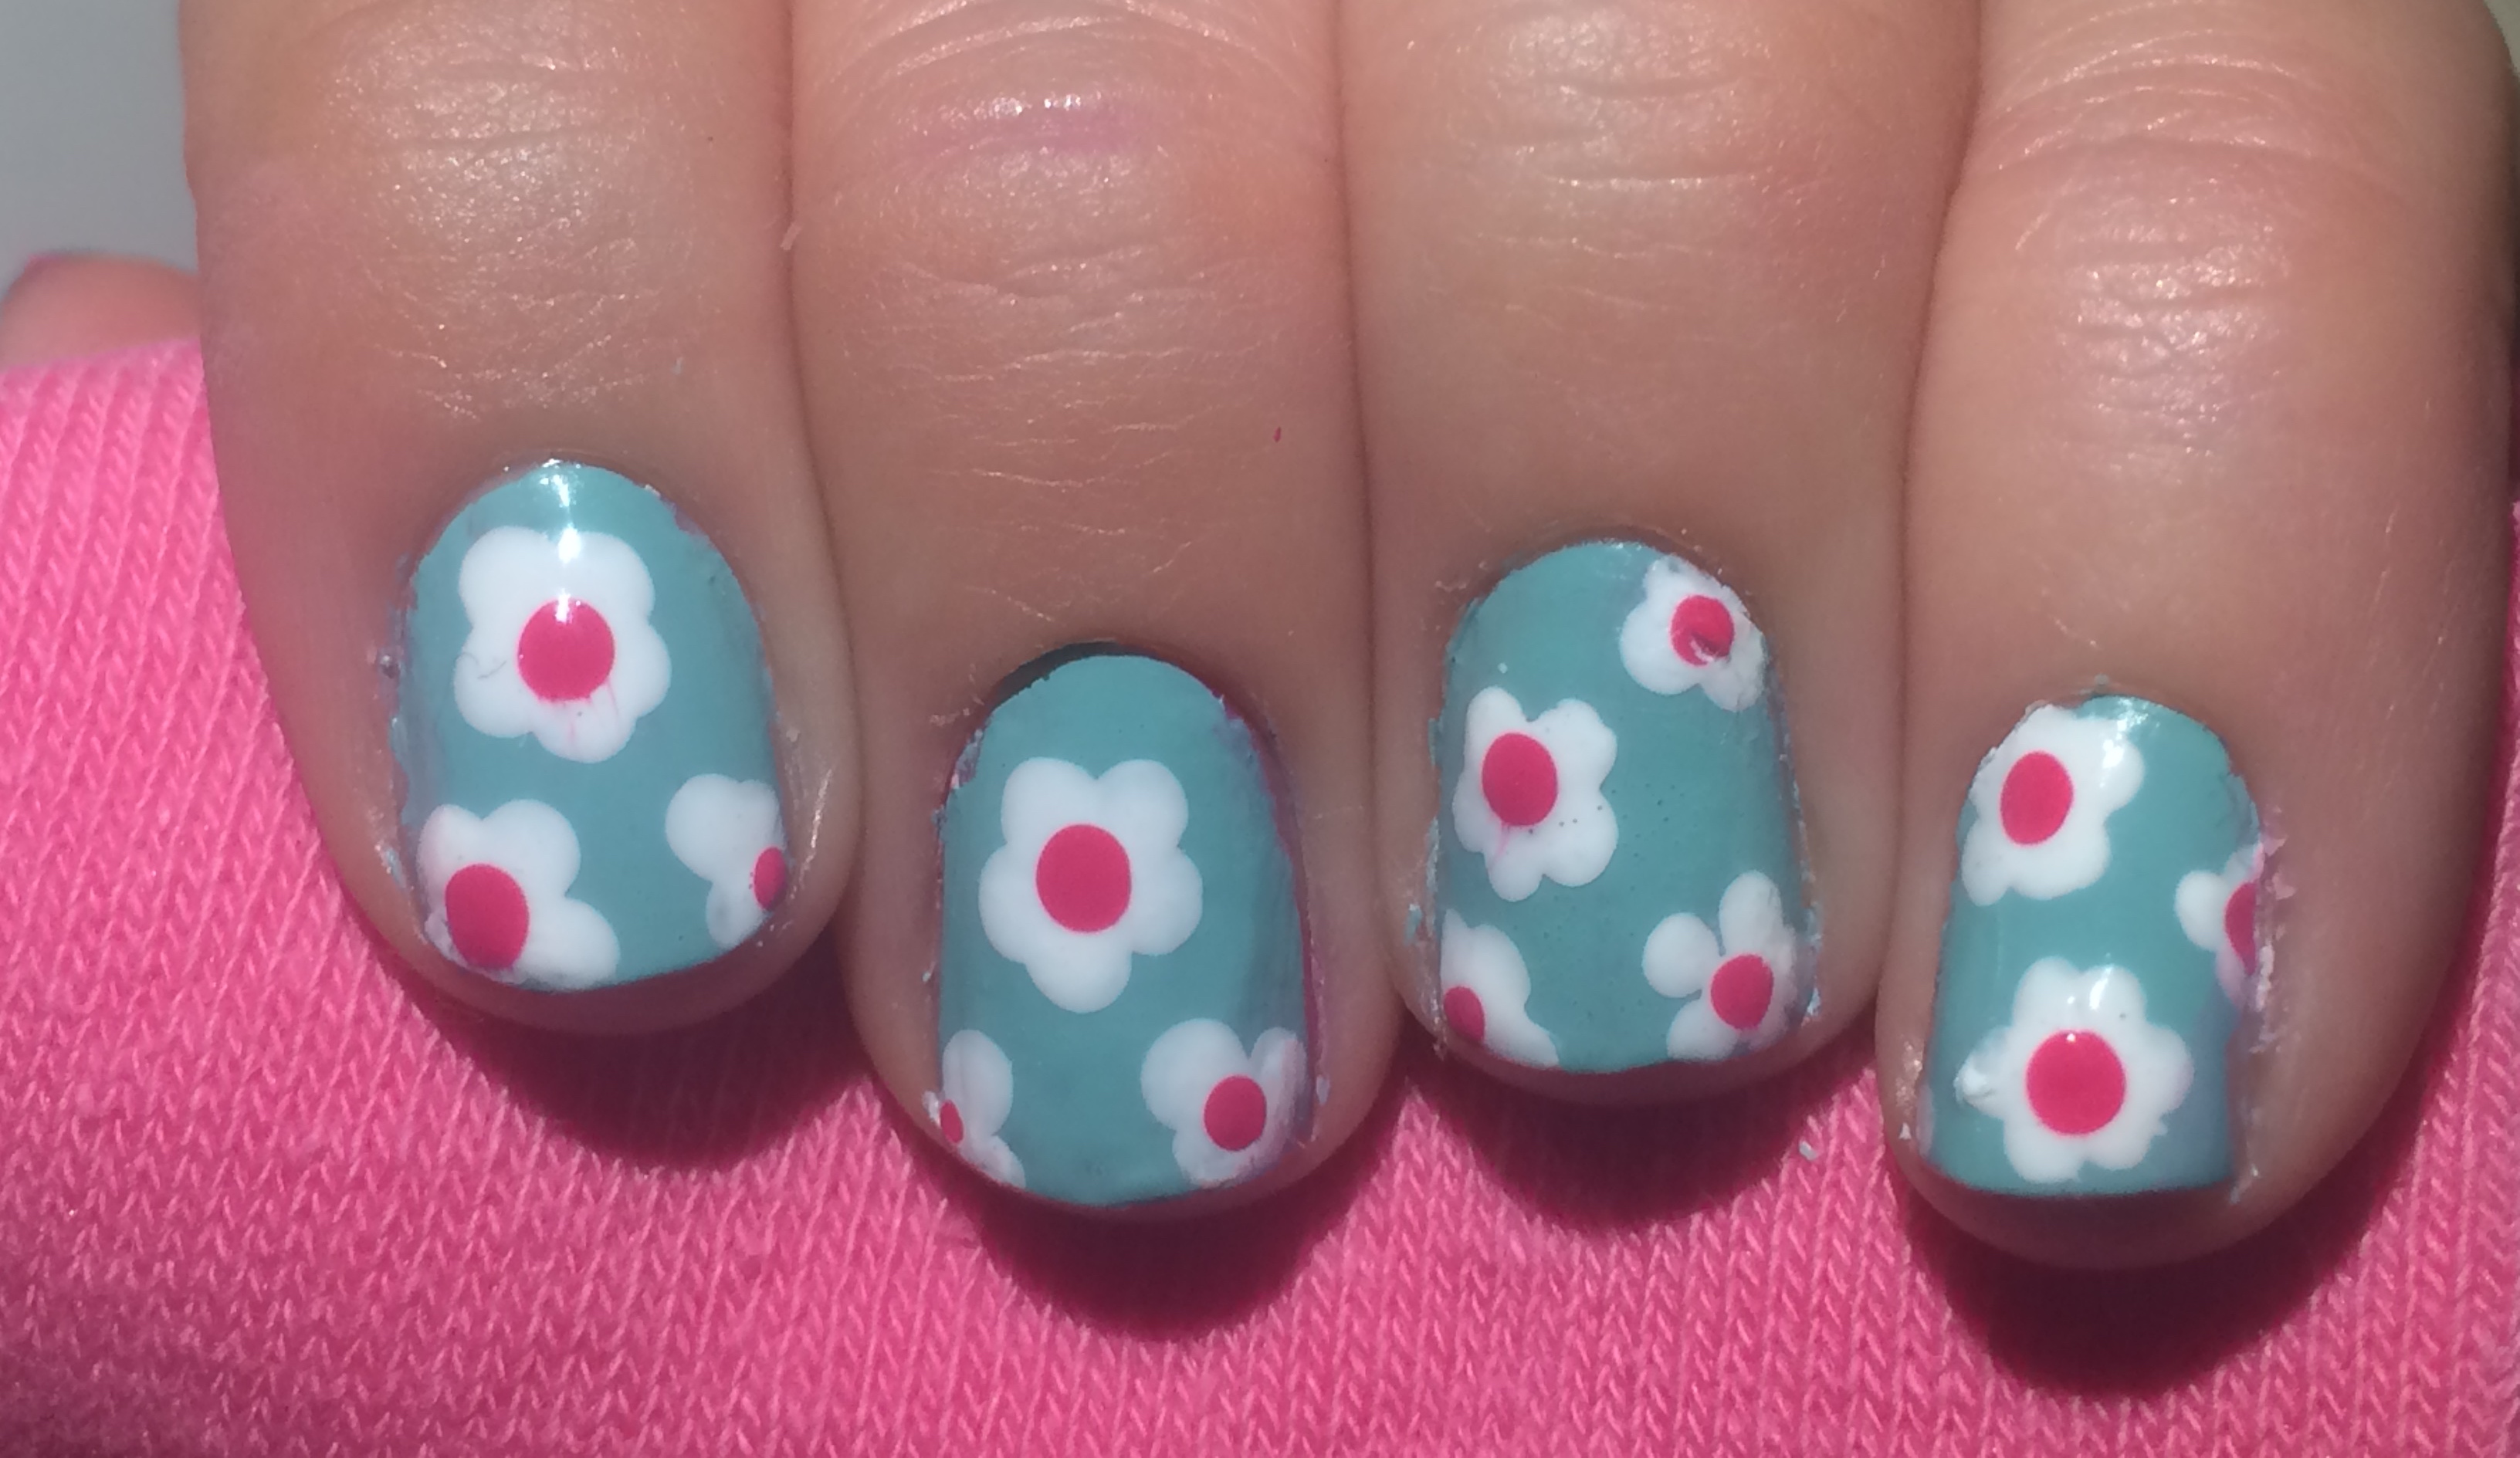
Then add the flowers! I made my flowers by adding five white dots in a circle, then adding another white dot in the middle to close the shape. Next, I added a smaller pink dot for the center of the flower. To make the flowers I used a dotting tool; however, there are other household items you can use instead. My favorite alternate method is a bobby pin.
Once you added your floral design to your nails, seal in with a top coat! I decided to add the floral design to all of my nails. For a simper and easier design, you can add the floral design to only your ring fingers as an accent nail.

Colors used:
Blue Base: Orly Gumpdrop
White Petals: Wet n Wild French White Crème
Pink Center: Wet n Wild Lavender Crème
Top Coat: Revlon Colorstay Gel-Shine Top Coat (This is my favorite!)
How did you recreate this floral design? Let me know in the comments!

Beautiful! Love them!
LikeLike
Thank you!
LikeLike
Fabulous!!!
LikeLike
Than you!
LikeLike
Super cute floral design!
LikeLike
Thank you!
LikeLike
This is SO cute!!! You’re really talented! 😀 Have you ever thought of drawing designs on paper or in a program like Photoshop then adding them to nail wraps? You could offer your designs to your readers to have at home!
LikeLiked by 1 person
Thank you! I haven’t heard of that method! I’ll look into it! 🙂
LikeLiked by 1 person
We have a program already designed to do exactly that. If there are any designs you’d like to try it with, I’d love to help you by getting them on a sheet for you!
LikeLike
That’s really cool! Would you need a transparent PNG for it?
LikeLiked by 1 person
Yes transparent would be the best and simply keep in mind that any negative space would be printed as white. A regular JPEG or png would do well too if it doesn’t have negative space!
LikeLiked by 1 person
Okay! I’ll try it out! 🙂
LikeLiked by 1 person
🙂
LikeLike
Oh my god Caroline, fab fab fab! Your excellent!!
LikeLiked by 1 person
Thank you! 🙂
LikeLike